
When it comes to fielding event requests, Eventective is your choice from first contact to final contract. In addition to capturing requests submitted by over one million visitors per month to eventective.com, you can now capture requests directly from your website (or anywhere you’d like to collect event inquiry data, such as social media) with an embedded or linked event inquiry form powered by Eventective.
Manage all your event inquiries and build customized contracts in one place: your Eventective Inbox.
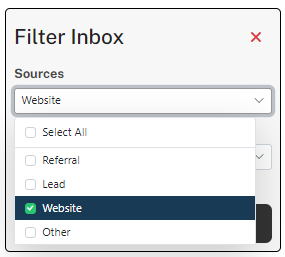
Once you have added the inquiry form to your website or elsewhere, any new event requests will appear in your Eventective Inbox with their source marked as ‘Website.’ Learn more about other sources and Inbox tools here.
Inquiry Form Example
To give you an idea of what our inquiry form could look like on your website, here is an example from one of our current clients, Bella Vita Farm:
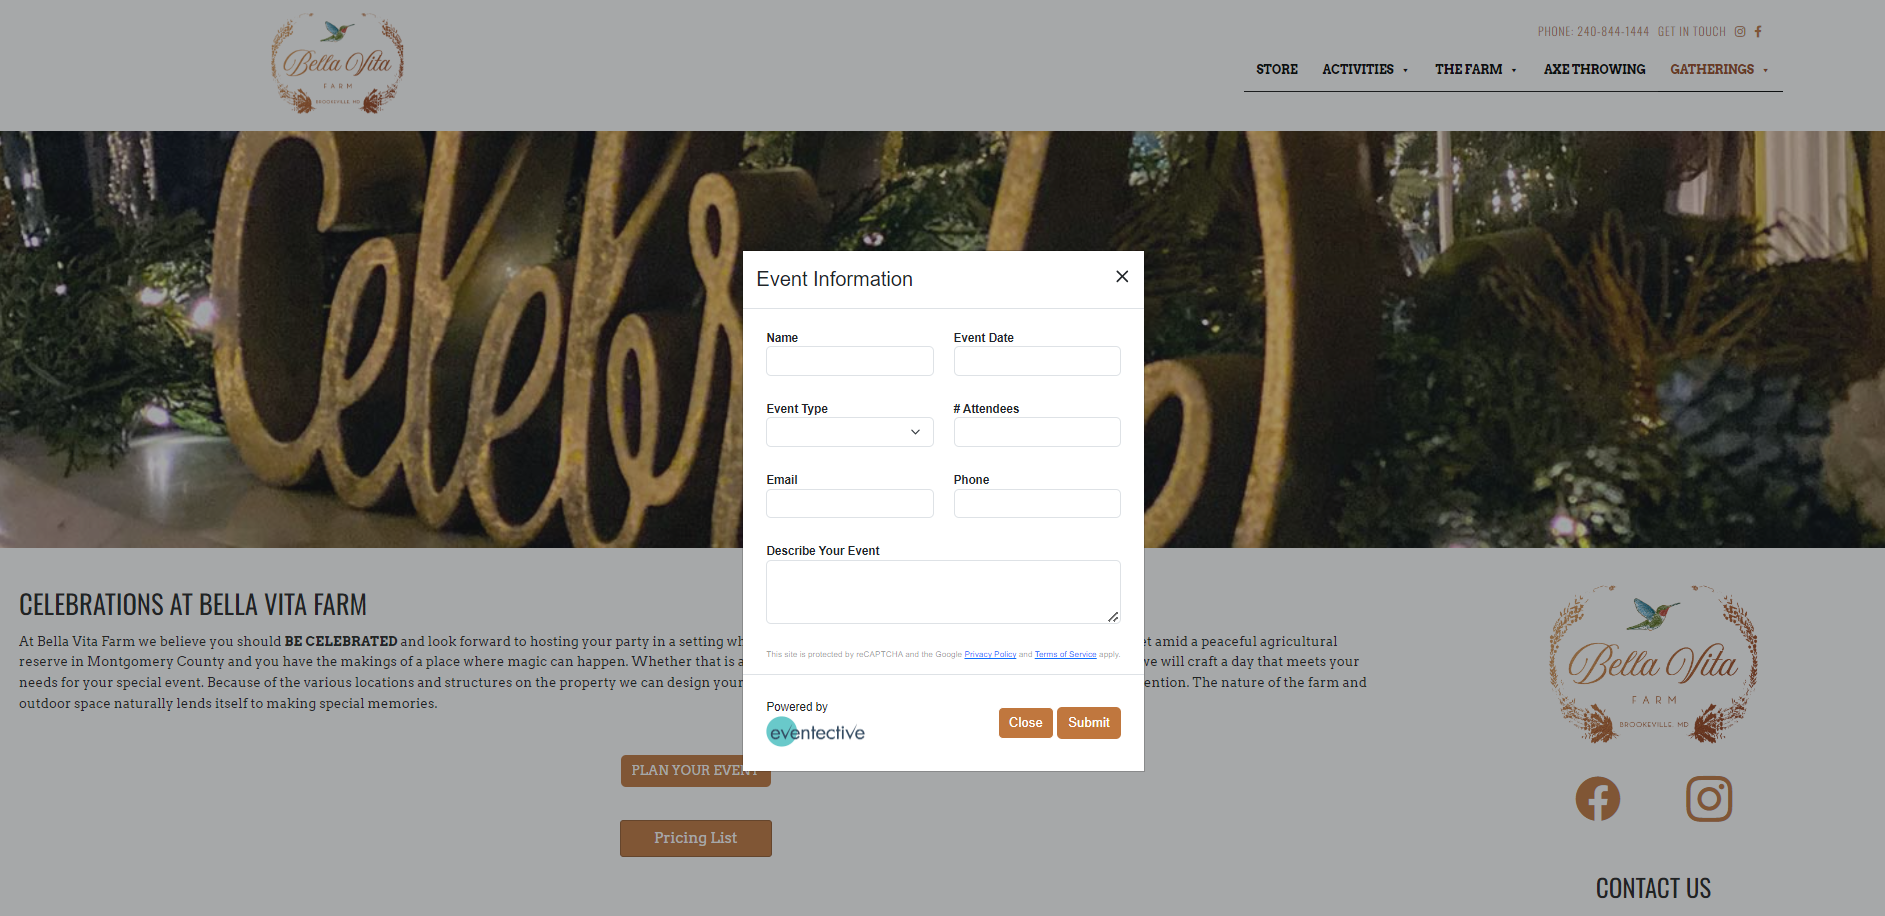
They are using the popup form. Once a prospect fills out the form and hits ‘Submit,’ all their event details will be added to Eventective as a new prospect.
Your Inquiry Form
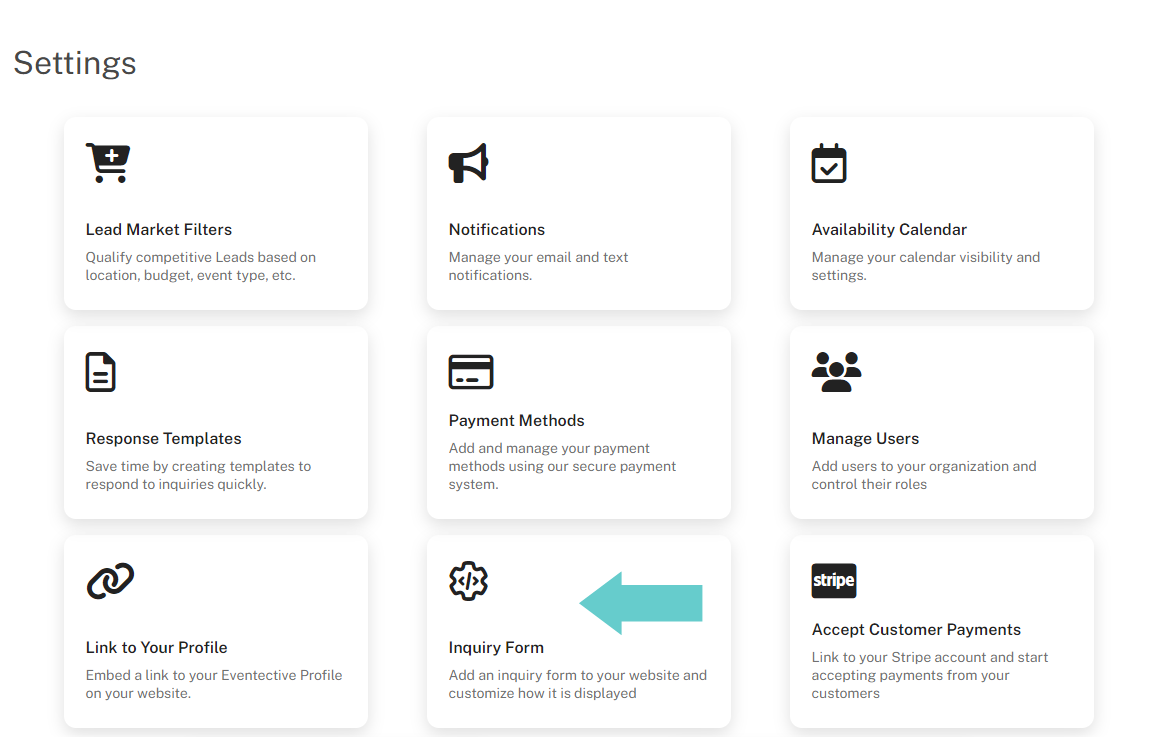
To customize your inquiry form, login to your Eventective account and select ‘Settings.’ Then, select ‘Inquiry Form.’
You can start by selecting which type of inquiry form you would like use. Choose from the following:
- An inline form, which will appear directly on your website.
- A popup form, which will show a button that prospects will click to display your form.
- A link, which will take prospects to a new webpage.

Customize Your Inquiry Form
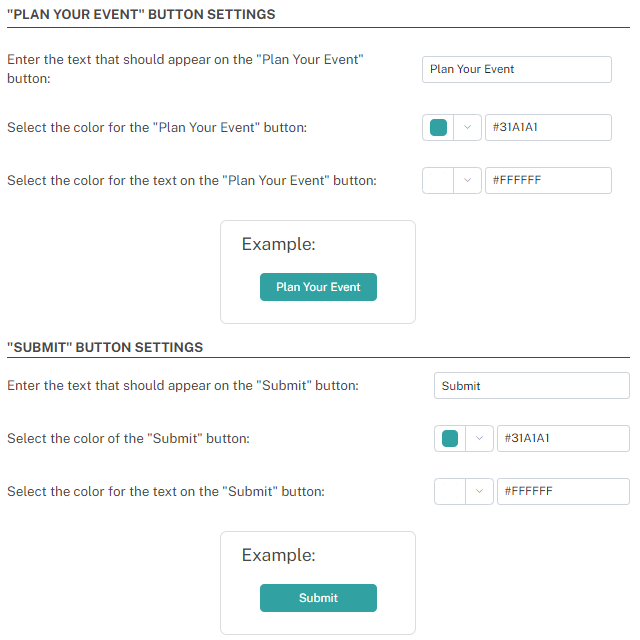
Within your Settings, you can customize the form to match your website theme. Depending on which inquiry form you choose, you’ll have different customization options. Options include:
- Button text
- Button background colors
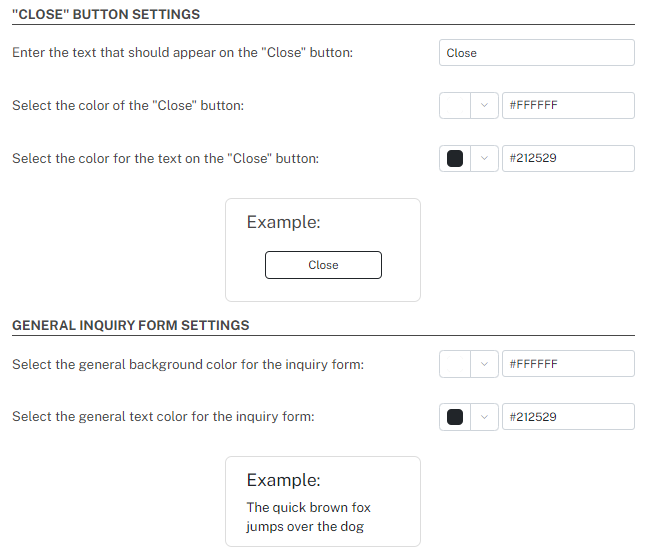
- Button text colors
- Form background color
- Form text color
Inline Form Settings:
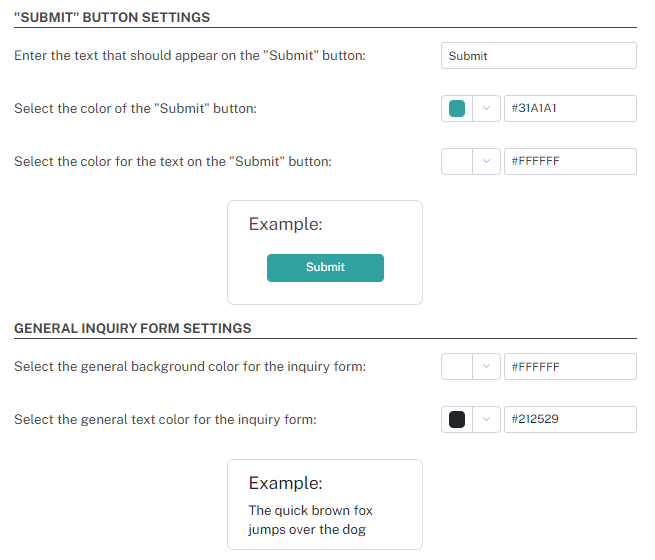
Popup Form Settings:
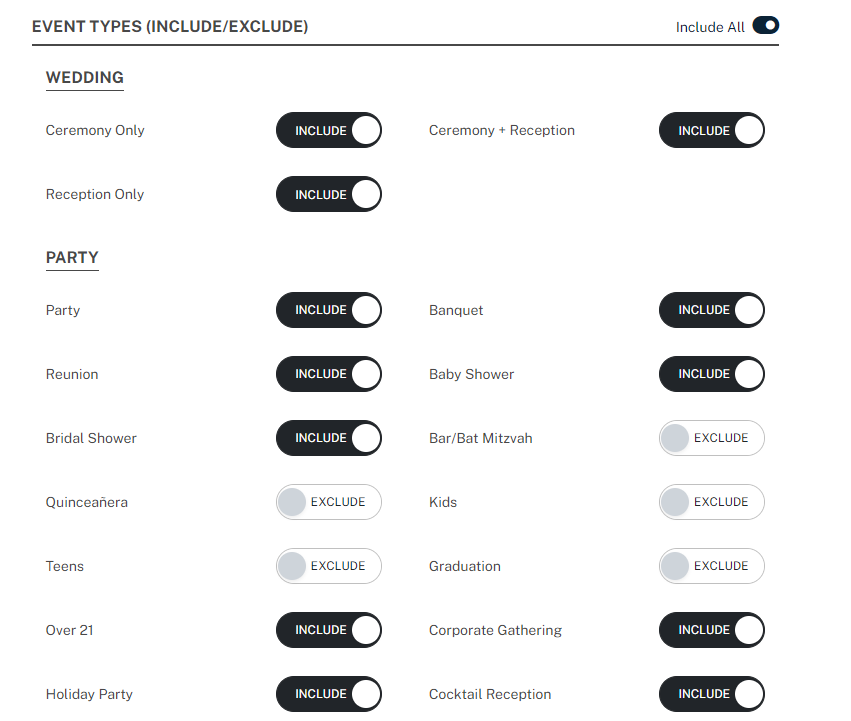
Event Types
Then, you can customize the event types you would like included or excluded from the form, based on the types of events your business hosts.
Conversion Tracking
Finally, decide if you want to enable Google Analytics tracking. This feature tracks your events and sends conversion data to your Google Analytics account.
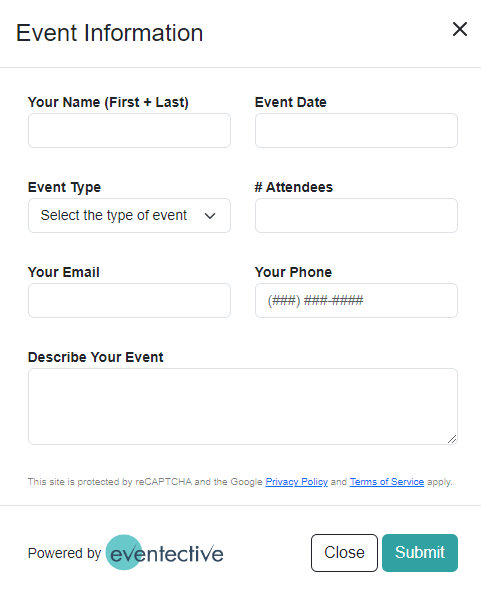
Once you have your settings in place, click ‘Save’ and preview your form by selecting the ‘Preview’ button. You’ll see the inquiry form will include the following form fields:
- Name
- Event date
- Event type
- Number of attendees
- Email address
- Phone number
- Event description
When your form is finalized, copy the HTML code for an embedded/popup form and paste it on your website, or copy the link for a linked form and paste it wherever you would like (website, social media, etc.)
With Eventective, you can focus on winning more event business. Watch the video below to learn more!
As always, feel free to reach out to your account manager with any questions.