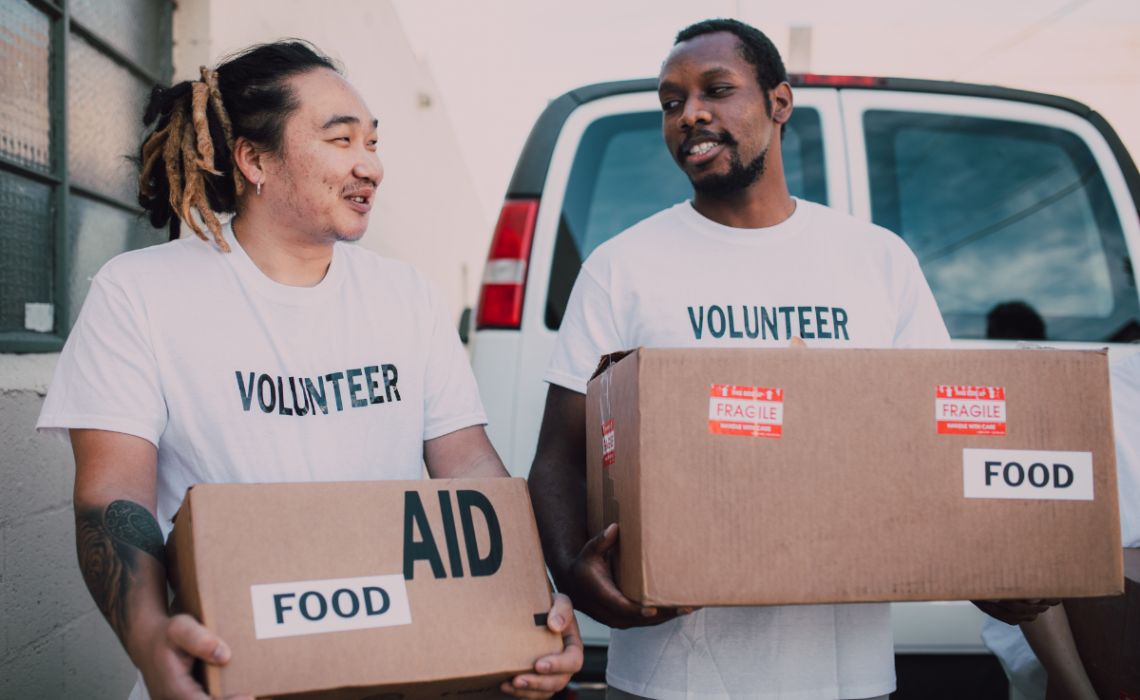
When disasters strike, it’s natural for people to want to help. Whether it’s cleanup, financial support, or preparing meals, there are several ways to support communities in crisis. One of the most impactful and immediate options is hosting a supply drive. But while the heart may be in the right place, a successful drive comes down to thoughtful planning and execution.
This guide will walk you through the exact steps to organize an efficient, impactful supply drive, whether it’s a small community effort or part of a larger event.
1. Identify a Clear Need
Depending on the caliber, there may be several communities or areas that need support. Choose one and find out exactly what supplies are needed. Relief organizations often share up-to-date wish lists on their websites or social media. Avoid collecting items that aren’t requested. While well-intentioned, used clothing can overwhelm relief teams and cause more harm than good.
Pro tip: Check for real-time updates from local authorities or disaster agencies. Needs can change daily depending on the stage of the emergency response. And depending on the condition of the area, it may not be safe to access or distribute supplies.
2. Partner with a Trusted Organization
Before collecting a single can of food or pack of diapers, connect with a nonprofit or relief group that’s actively responding to the disaster. They will likely have insight into what items are needed, how to package them, and where to send them. This ensures that nothing goes to waste and all donations are actually useful.
Pro tip: By working with a nonprofit or relief group, you’ll spend less time and guesswork trying to figure out how supplies will reach people.
3. Choose the Right Collection Site
Your collection site should be easy to find, have decent parking, and be large enough to handle a steady flow of donations. If you’re hosting a one-day drive, consider an outdoor venue with drive-up access. For ongoing drives, choose a space that can safely store supplies between drop-offs.
Pro tip: Have carts, dollies, or a hand truck on site to move heavier items like cases of water or boxes of canned goods. If you’re expecting a high volume of donations, park a van, truck, or trailer nearby so you can start loading immediately without overcrowding your space.
4. Create a Detailed List and Clear Messaging
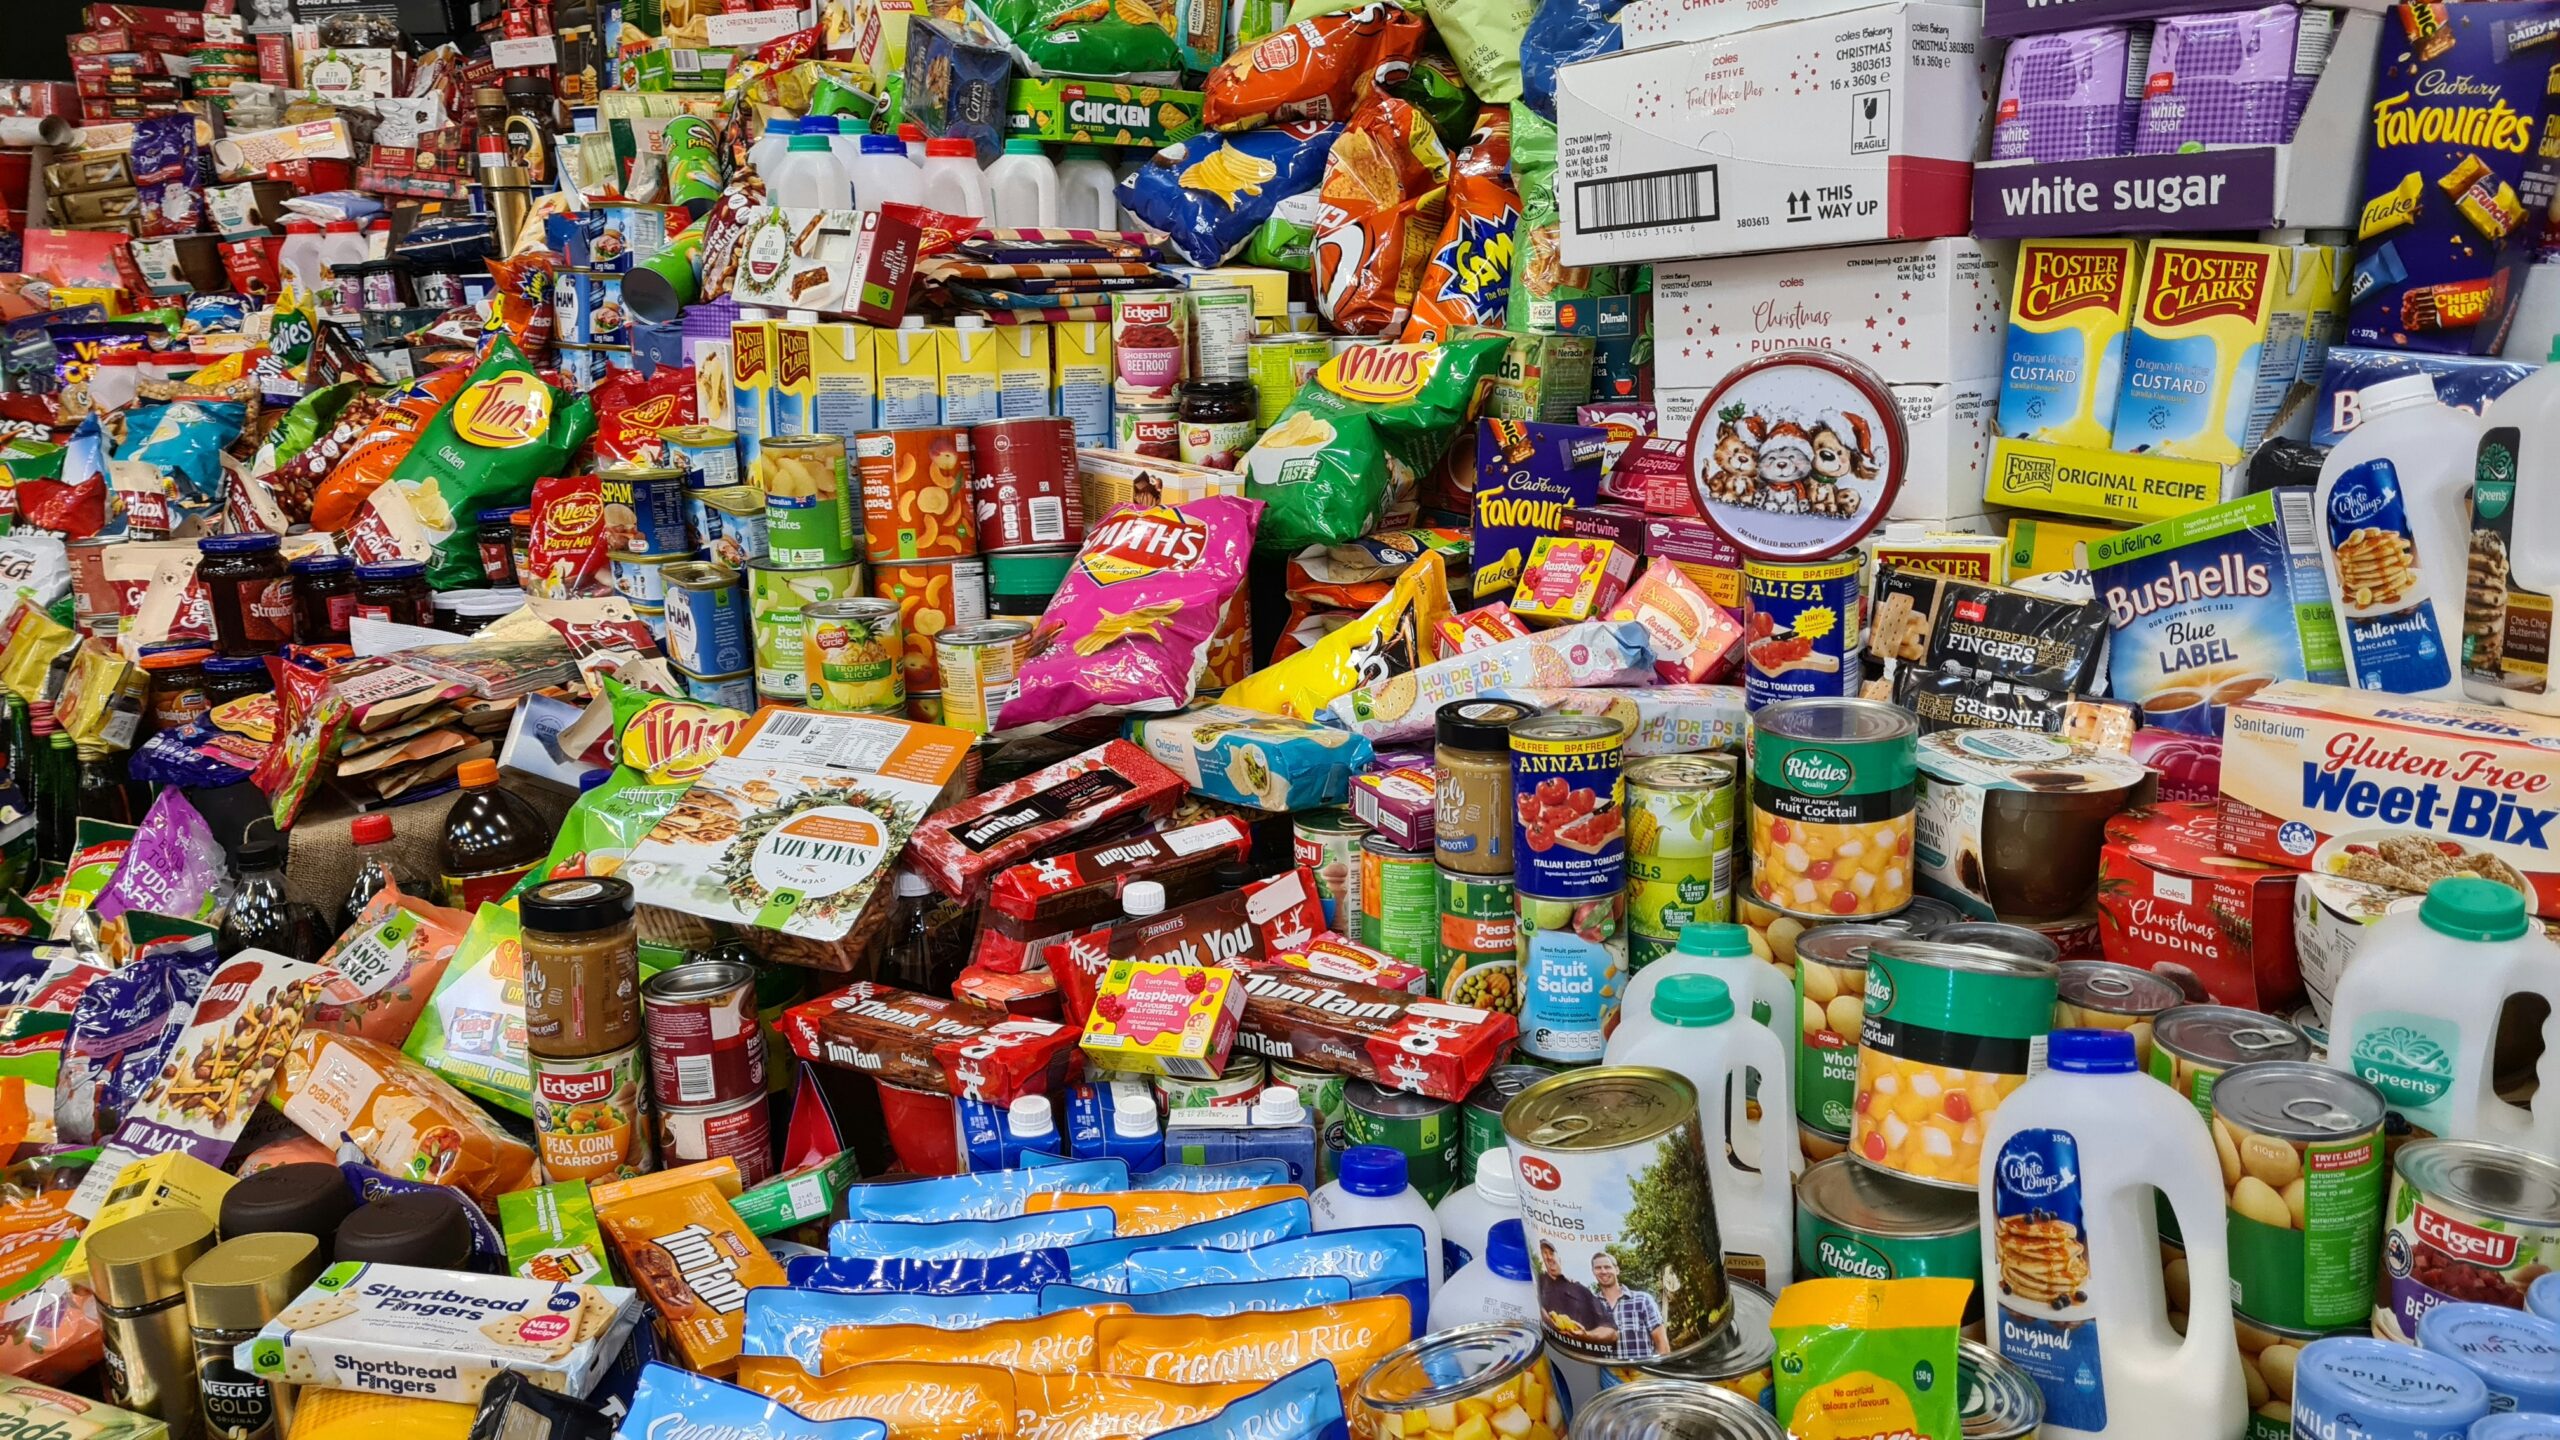
Be specific about what you’re collecting. You should have a clear list of what to bring and what not to bring. Include a short explanation of how donations may be used. And make sure to put the list on all of your collateral, emails, and social media posts.
Pro tip: Keep your supply list tight by focusing on just a few specific categories, like hygiene kits, baby items, non-perishable food, or first aid. Grouping items this way makes sorting and distribution easier for volunteers and ensures recipients get complete sets of essentials rather than a random mix.
5. Make It Easy to Give
People want to help. But if it’s a complicated or inconvenient process, they won’t. Offer multiple drop-off days or a drive-thru setup. Have volunteers on site to help get items out of cars. You can also set up collection bins at businesses, schools, or apartment complexes to make it simple for people to give on their own time.
Pro tip: For people who can’t give in person, consider creating an Amazon or Walmart wishlist with shipping instructions.

6. Stay Organized
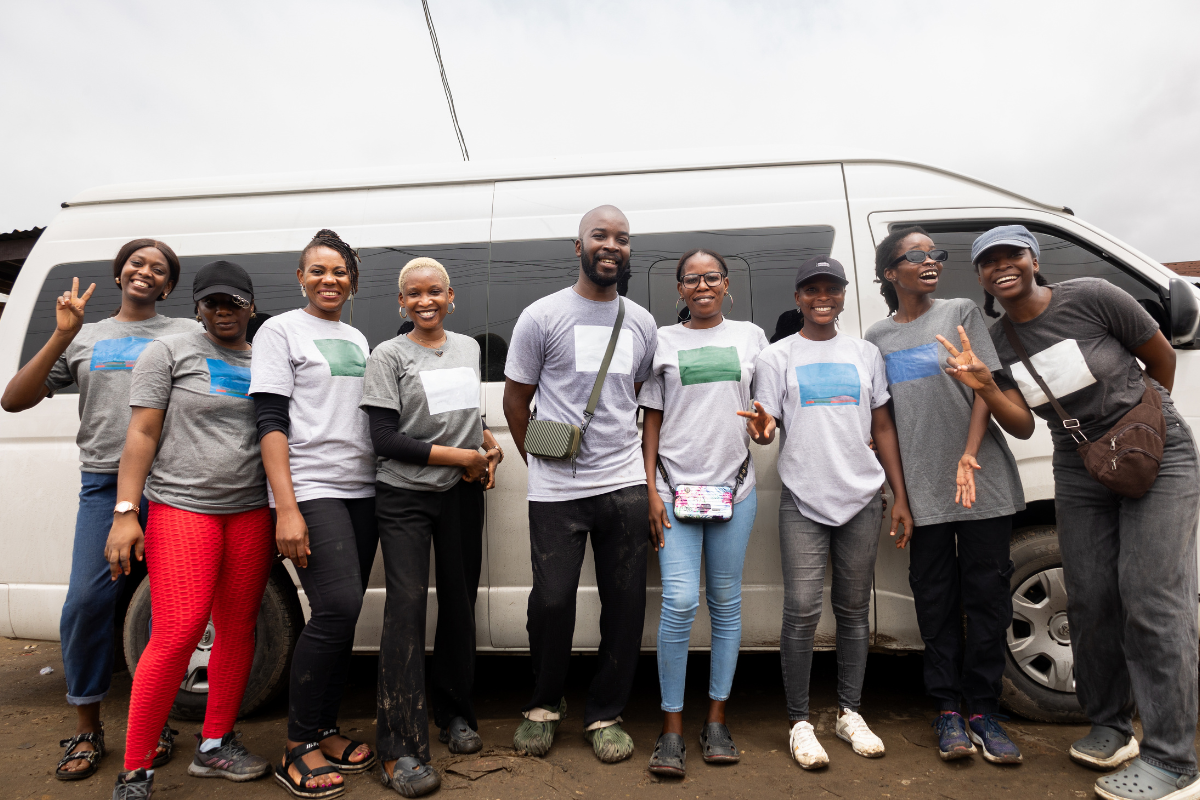
Plan your drive like you’d plan any other event. Assign roles to volunteers, create a schedule, organize labeled bins or tables to keep items sorted, and establish a clear intake area to guide donors on where to go and what to do.
Pro tip: Assign volunteers to specific roles like greeter, sorter, inventory tracker, runner, and packer. Having a clear job for each person keeps the drive organized and efficient, especially during high-traffic times. A volunteer lead or shift captain can help manage flow and answer questions.

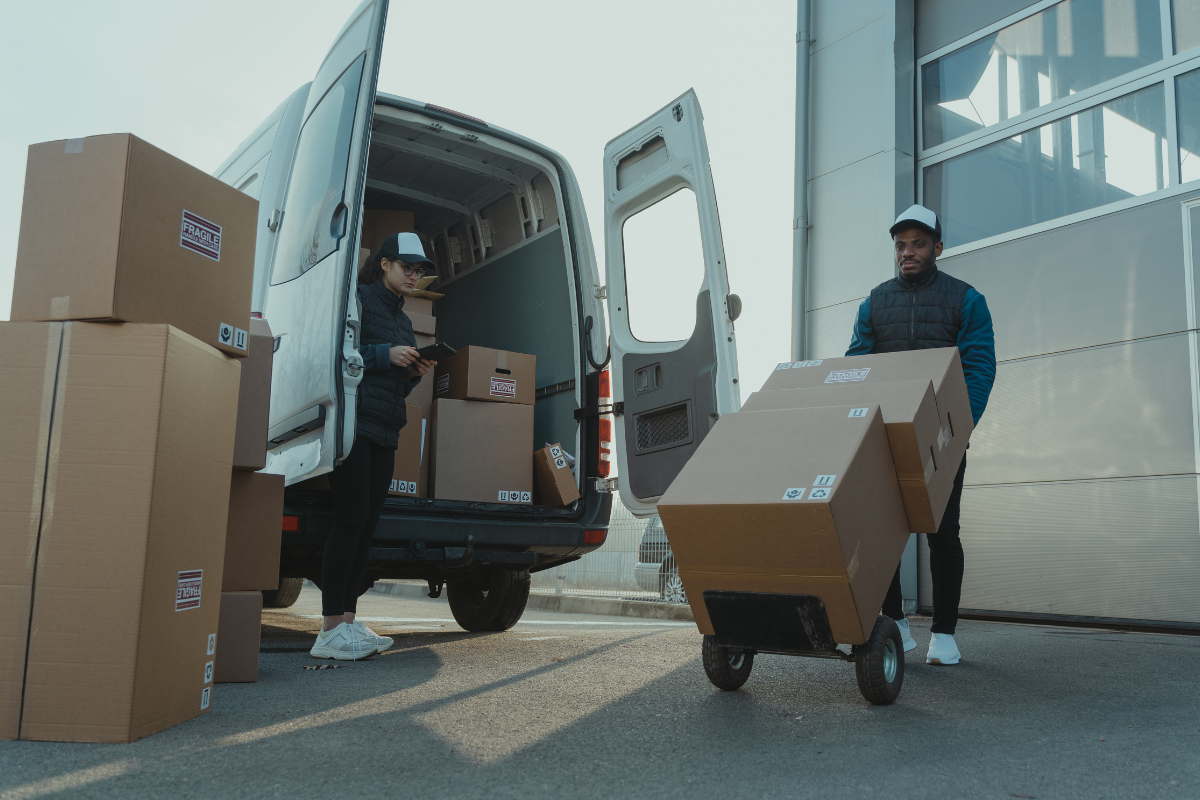
7. Plan for Delivery and Follow-Through
Don’t let donations pile up without a delivery plan. Work with your partner organization to understand their delivery timeline, packaging preferences, and contact person for drop-off. Have a backup plan in case of bad weather, transportation issues, or delays.
Pro tip: Schedule your final delivery day like an event. Invite key volunteers to help pack, load, and celebrate the end of a successful drive.
8. Celebrate and Say Thank You
Once the drive is over, close the loop. Share photos of packed donations, post updates from the receiving organization, and thank your donors and volunteers in a public way. You could even make a short “look what you did” video or infographic to post online and email to donors.
Pro tip: Set out a sign-up sheet or QR code during the drive to collect email addresses from donors and volunteers. This makes it easy to send updates, thank-yous, and future event invites, keeping your supporters engaged beyond the drive.
Conclusion
A disaster relief supply drive may seem simple, but the details matter. From choosing the right partner and narrowing your supply list to assigning clear volunteer roles and tracking contacts, thoughtful planning turns good intentions into real impact. The most effective drives are the ones that feel organized, welcoming, and purposeful.
Focus on clarity, stay flexible, and make it easy for people to give. With the proper setup, your drive won’t just collect supplies. It will inspire community action when it’s needed most.
Kadi McDonald is a freelance writer, marketing strategist, and proud Cleveland sports fan.