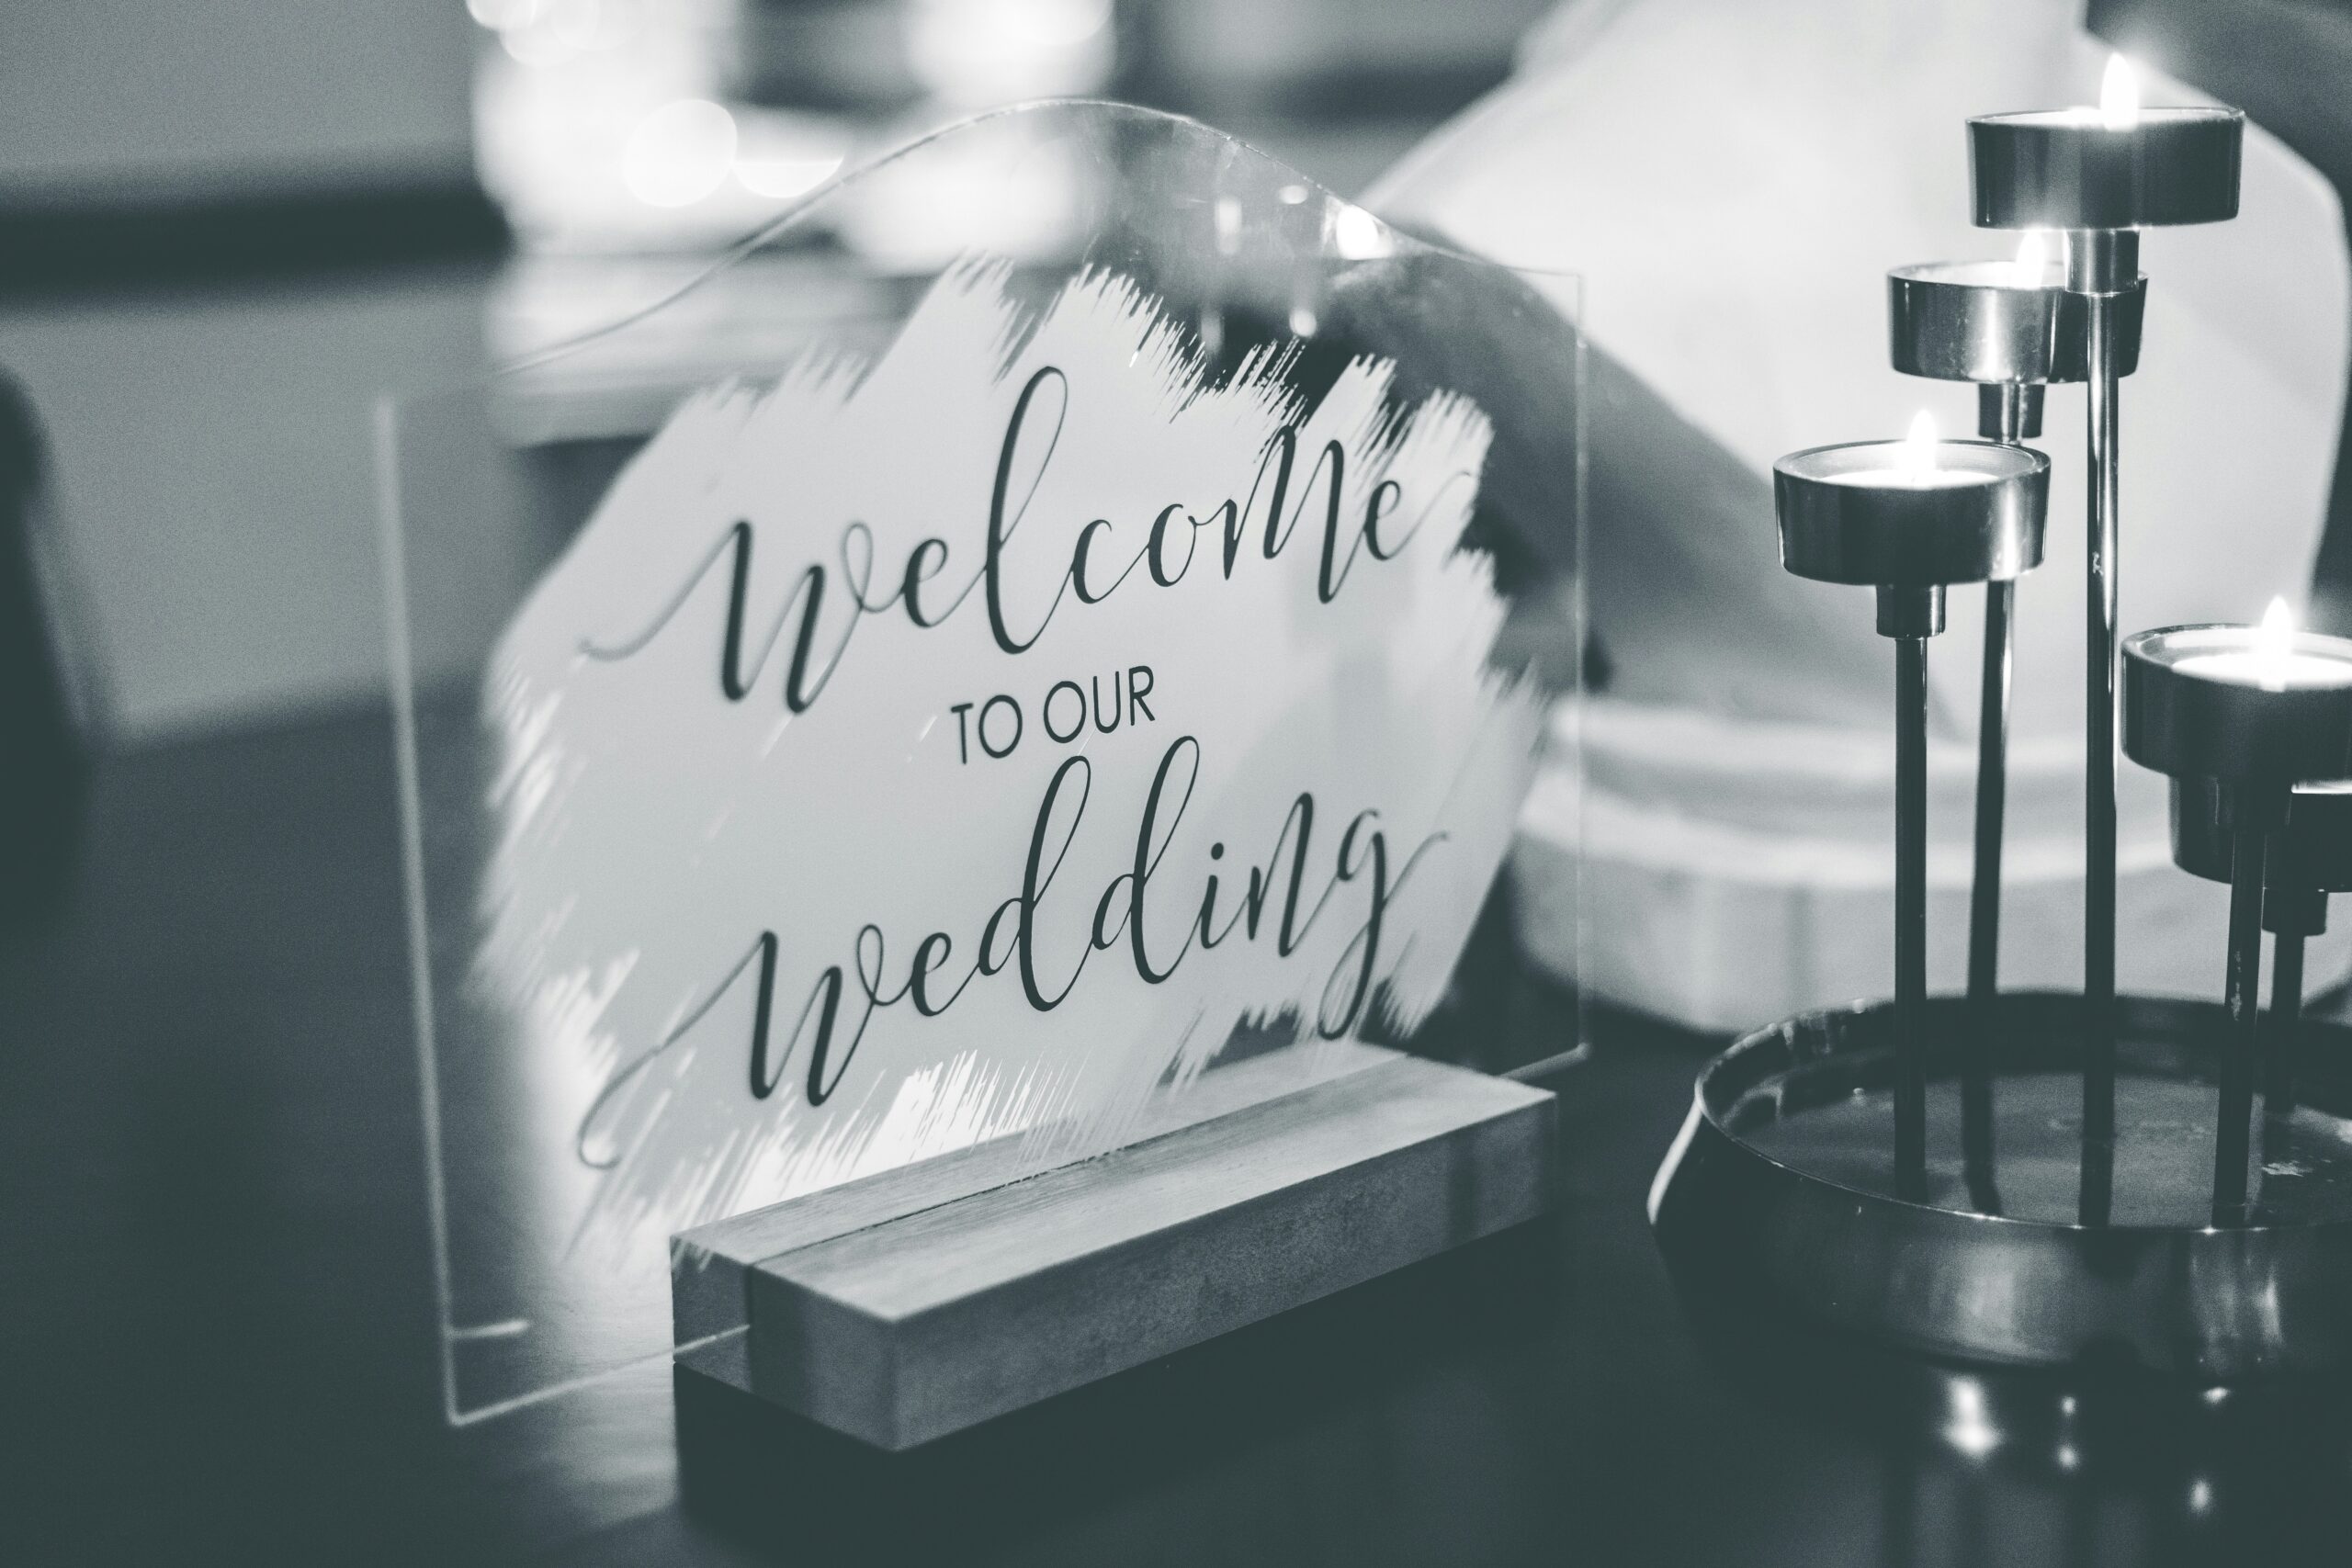
DIY weddings are having their moment (again!). For couples hoping to save money and express their individuality, handcrafted details can make all the difference. The latest homemade wedding trend? DIY stained glass wedding signs.
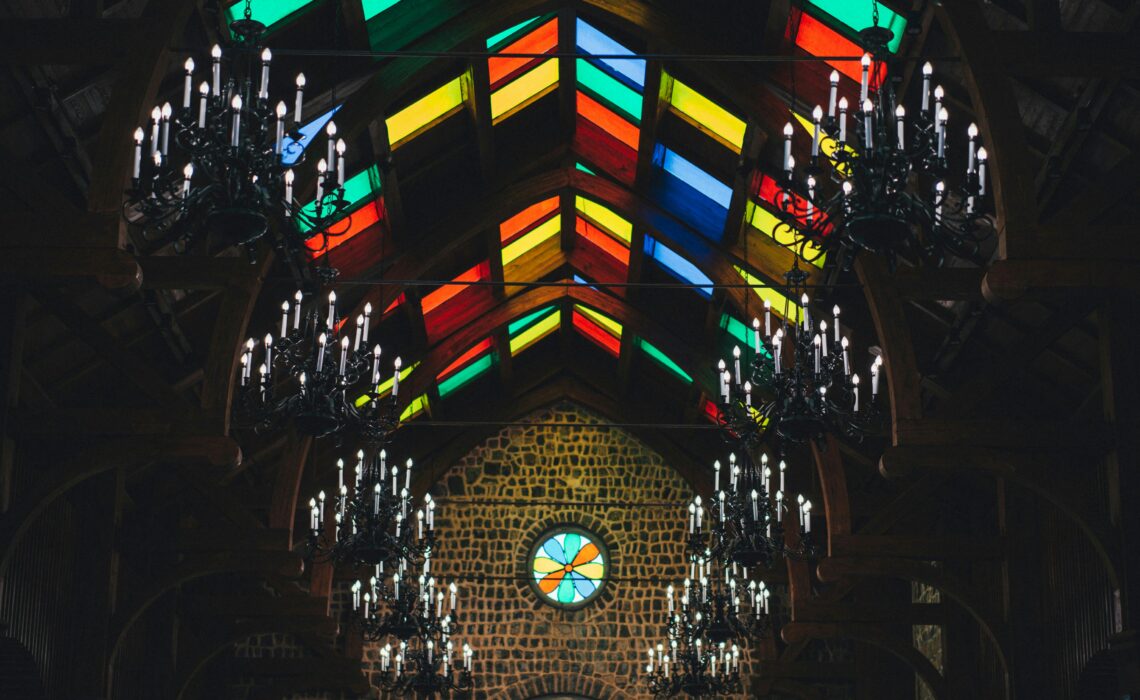
Stained glass has awed and inspired churchgoers and architectural aficionados for centuries. This timeless art form can add an extra layer of elegance and creativity to your wedding day — but it’s expensive! Instead of shelling out for a custom glass piece, social media users have mastered the art of imitation.
Keep reading to learn how, with a few tools and a little patience, you can create your own stained glass masterpiece that you’ll cherish for years to come.
What You’ll Need for DIY Stained Glass
To make your own stained glass wedding signs, you’ll need a few items from your local craft store:
- Acrylic sheet or plexiglass
- Glass paint, such as Gallery glass, in the colors of your choosing
- Toothpicks or cotton swabs
- Picture frame or sign stand
- White paper for transferring pattern
Designing Your DIY Wedding Sign
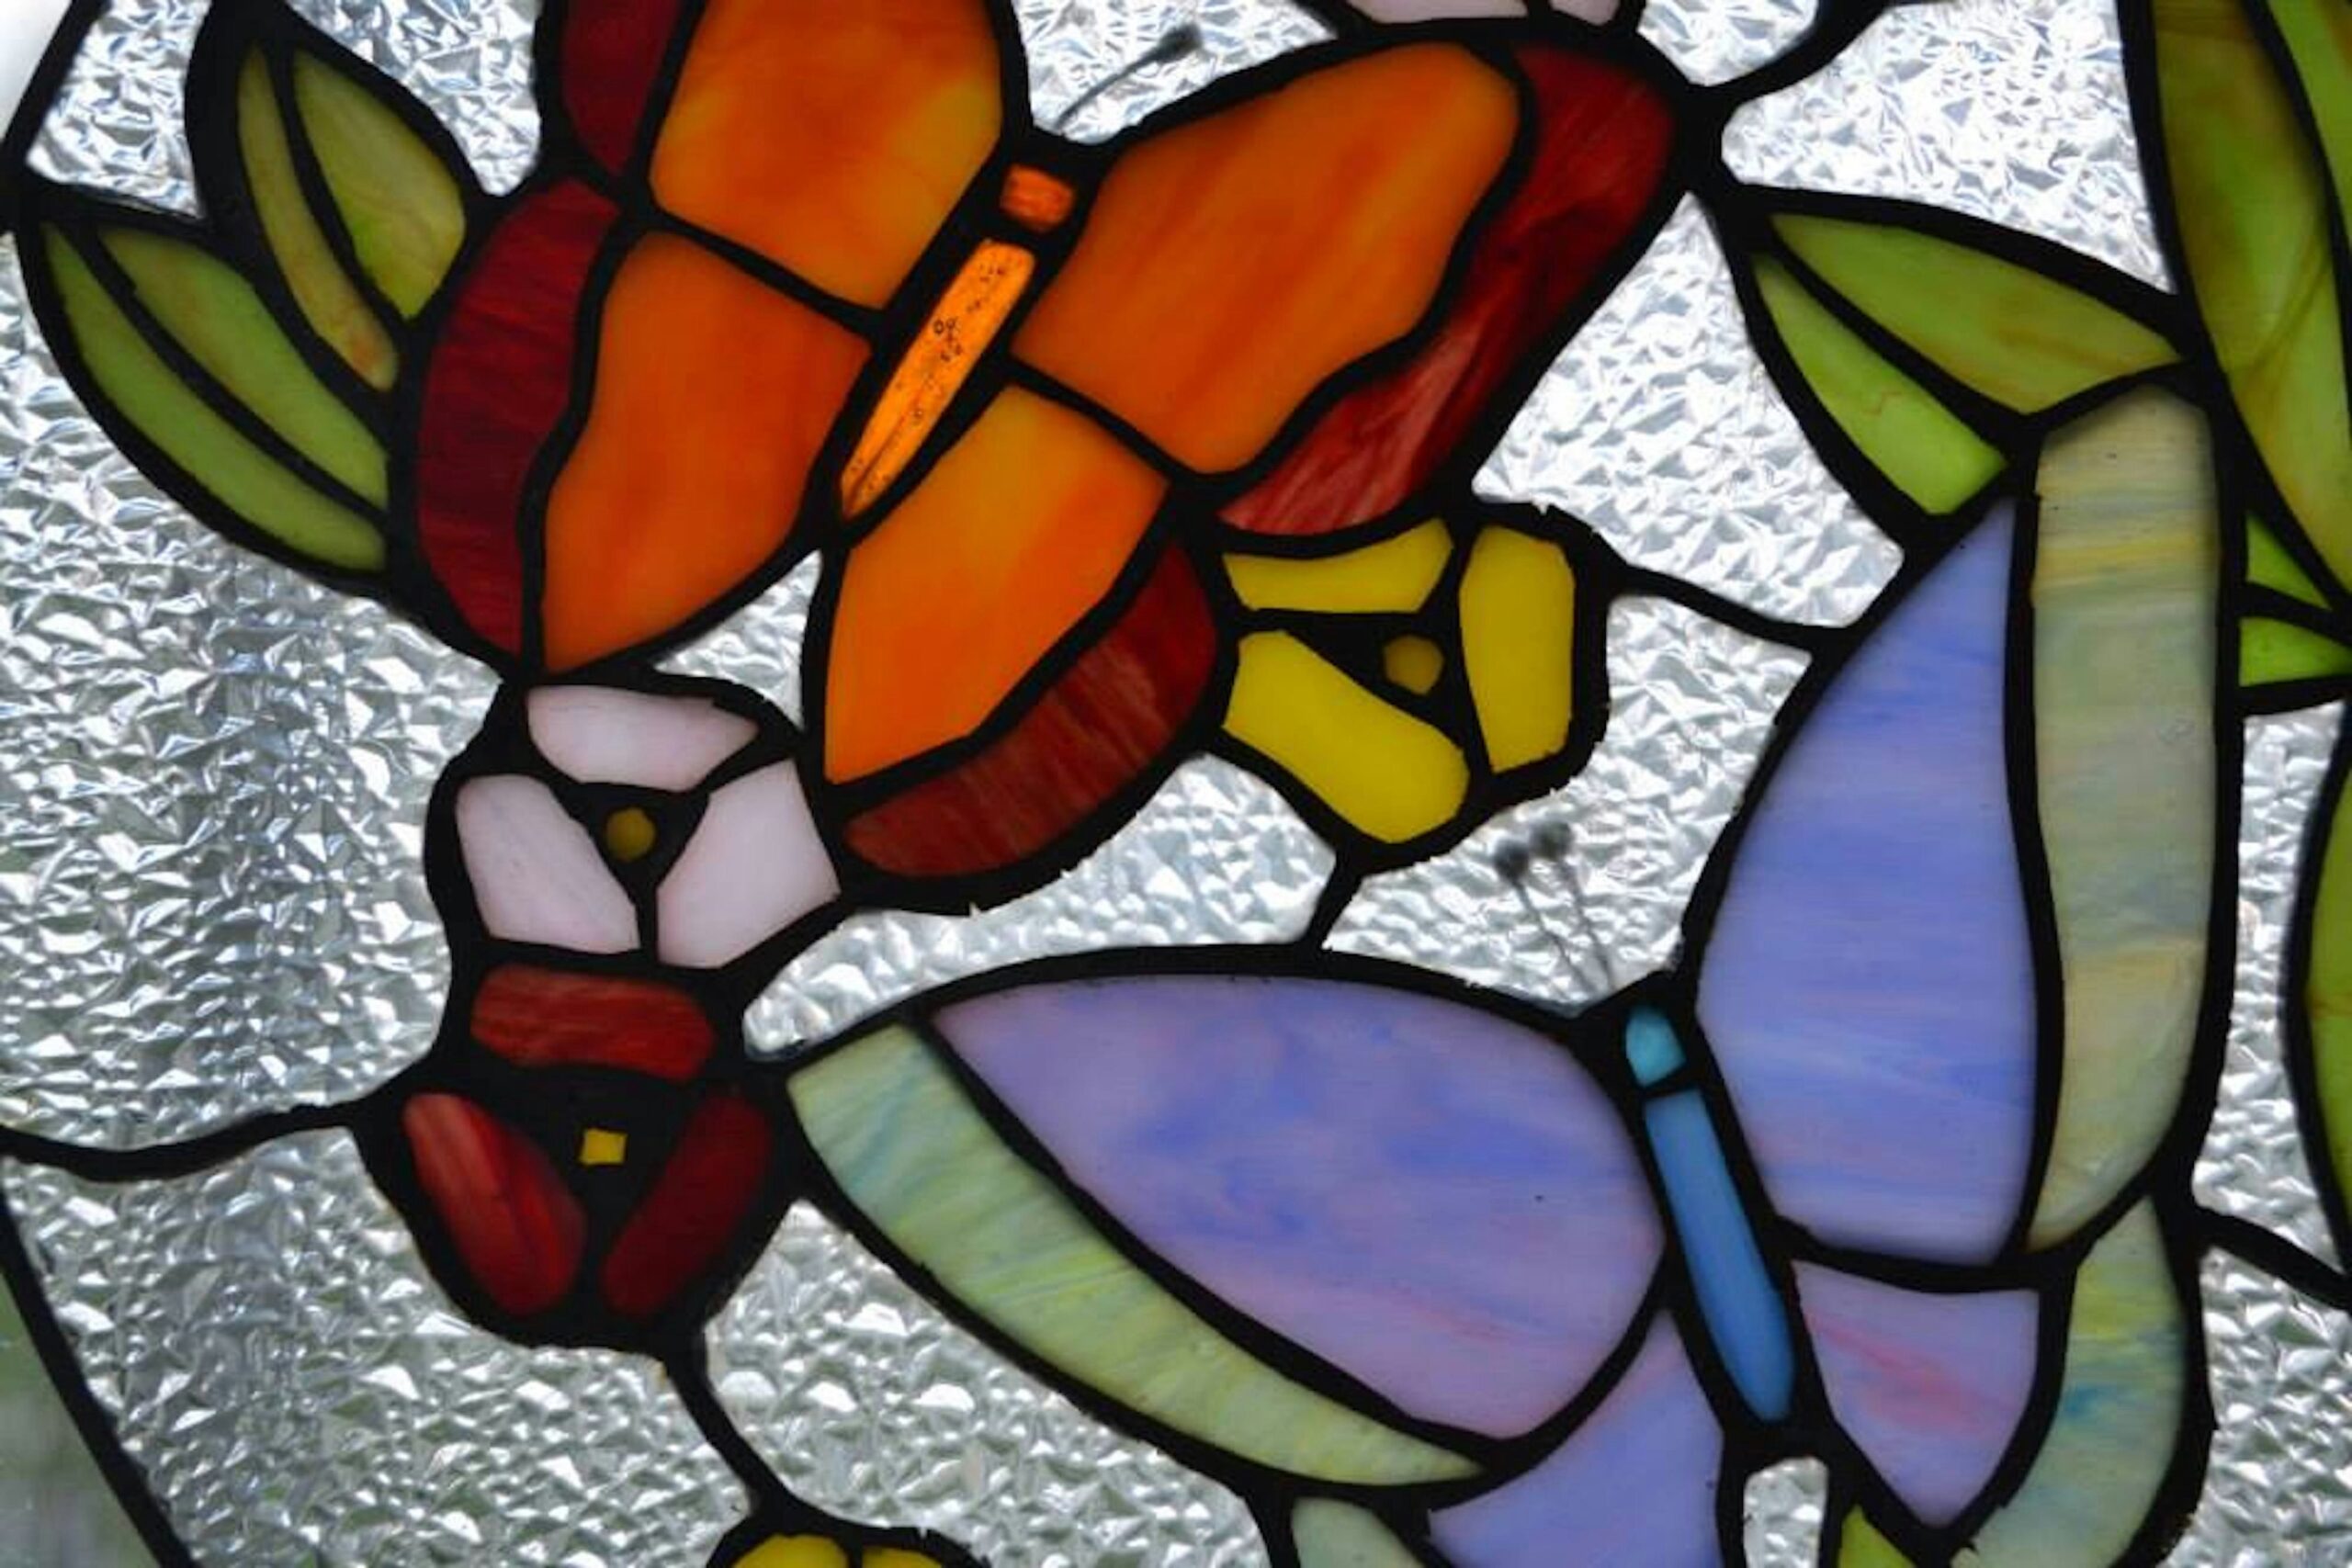
Now that you have your materials, you need to decide what kind of design to put on your stained glass. For a welcome sign, you might include details like: your names, your wedding date, your wedding flowers, leaves and botanical elements, or geometric shapes. Take inspiration from classic stained glass pieces or check out #weddingdiy, #stainedglass, or #stainedglassart for ideas and tips from fellow crafty brides.
Depending on your artistic skills, you can hand-draw your design or use a program like Adobe Photoshop or Canva to mock it up. Canva even has a few free stained glass designs for budget-friendly brides! Once your design is set, you’ll want to flip everything backward. Depending on the design program you use, there may be a “mirror” or “flip” setting. This will help you during the painting process and help preserve your design.
Lastly, make sure to adjust your print settings according to the size of your acrylic or plexiglass. You may need to print your design on multiple sheets of paper and tape it together during the tracing process.
Painting Your Stained Glass Sign
Once your design is printed, you’ll place your acrylic or plexiglass on top of the printed design. Remember: your design should be backward at this point. Then, choose an accent color like black or gold and outline the major elements in your design. Let this air-dry overnight, or use a hair dryer to speed up the process.
Now it’s time for the fun part. Fill in the rest of your design with colors of your choosing. You could match your signature wedding colors or choose complementary colors for a little something different. Use a toothpick or cotton swab to mix multiple colors together for a unique hue. You can also use a toothpick to create a textured look by swirling the paint before it dries.
When you’ve painted the whole piece and let it dry for twenty-four hours, it’s done! At this point, the paint should be on the back of the glass so you can see it but not touch it. This helps protect your painting from curious fingers or inclement weather.
Other Stained Glass Wedding Ideas
A DIY welcome sign is just one way to incorporate stained glass into your big day. You could also create stained glass table numbers, little favors, or a wedding card box. If you love the look of stained glass but don’t feel like (literally) watching paint dry, you could include stained glass elements in your wedding cake or invitation design.
Rachel Kauffman is a Detroit-based content writer, bookworm, and cat mom to two feisty felines.